Paper Pumpkins - Part 2
Well I did a post already on some paper pumpkins I made here.
Using a 12x12 sheet of scrapbook paper, I cut it down to 8 inches on one side and then into 1 inch strips. So you end up with 12 strips of paper.


Using a 12x12 sheet of scrapbook paper, I cut it down to 8 inches on one side and then into 1 inch strips. So you end up with 12 strips of paper.

Punch a small hole in each end of the strips, stack them in one pile and insert a brad on each side like this.
Then you pull apart the paper.
Until it resembles a pumkin like this.
For the stem, I used part of my leftover scrapbook paper (it was brown on the other side)and rolled it up and used a glue dot to hold it together. Use some hot glue to attach it to the top of your pumpkin. (Sorry for the blury picture)
Add a little green ribbon (I just tied a bow and hot glued it to the stem)and some raffia and there you go - instant pumpkin.
Add it to your fall decor for that extra touch. You could do all sorts of fun pumpkin colors.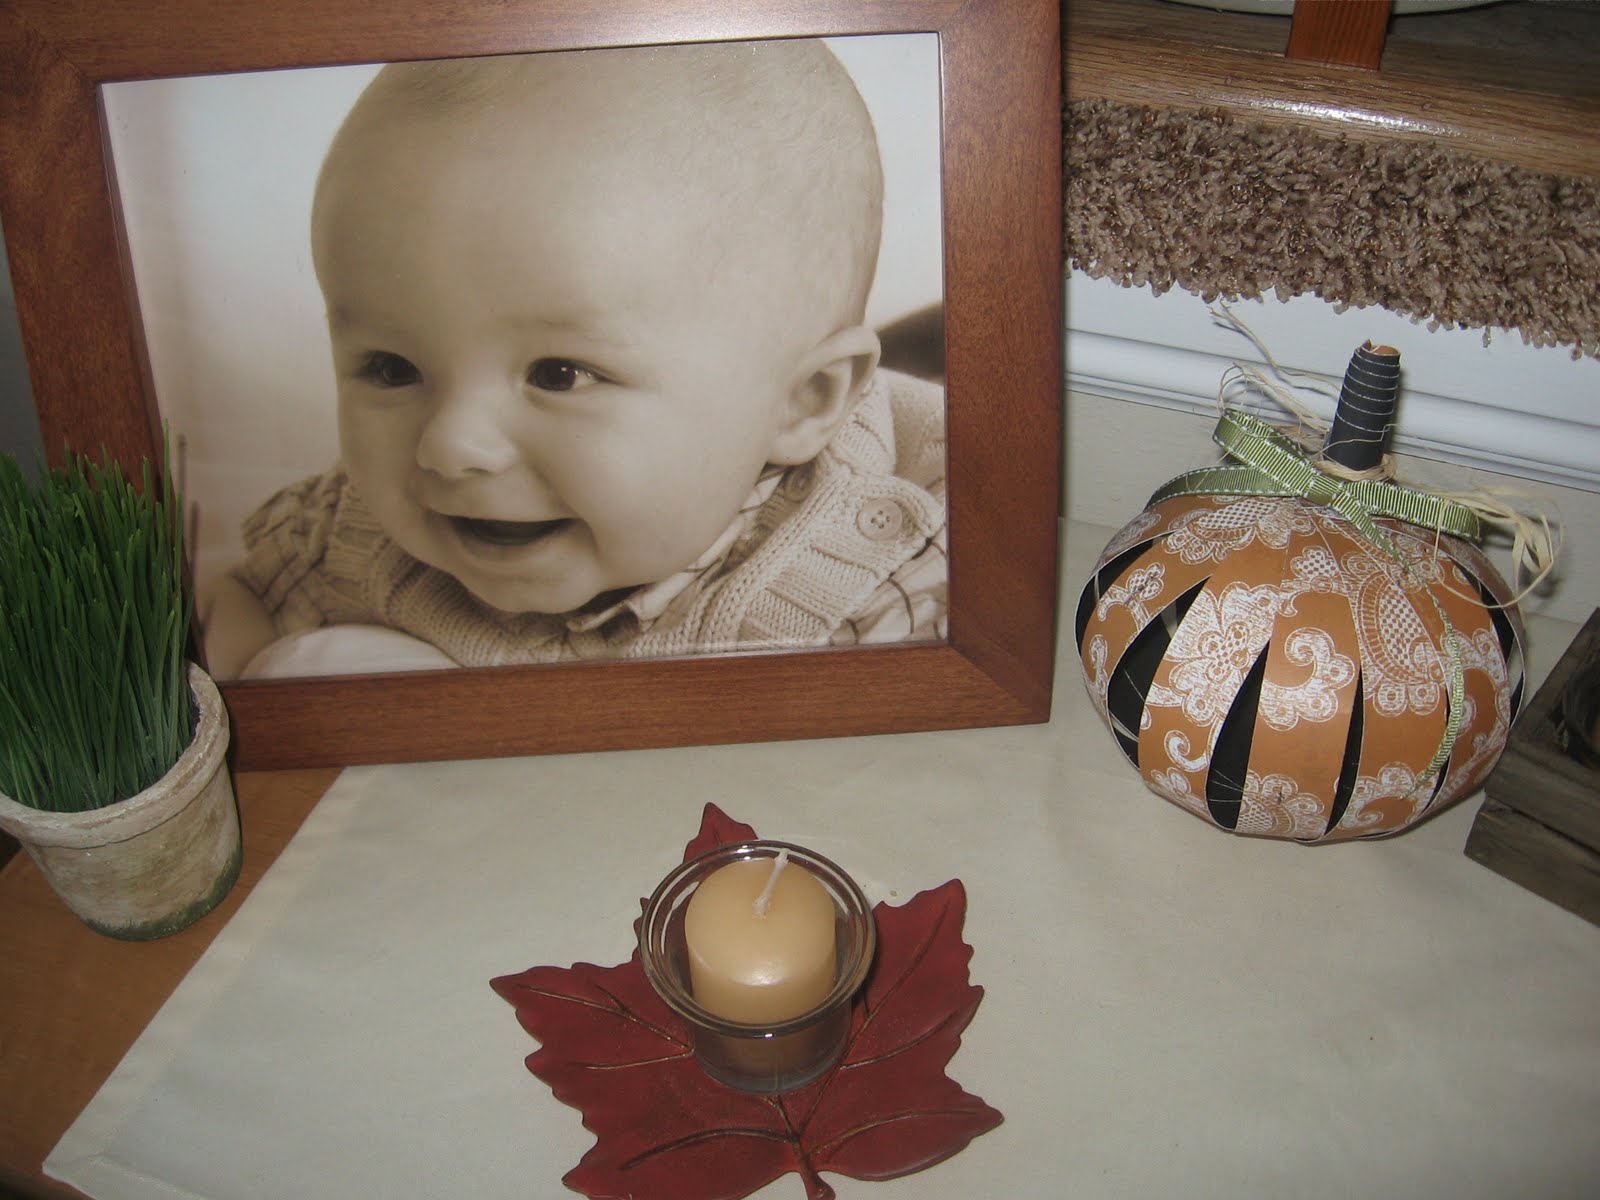
HAPPY FALL!
I'm linking up with:

Those turned out great. I love the possibilities! Thanks for stopping over at Tuesday Tell All.
ReplyDeleteI love this! Thanks so much for the tutorial, I am so going to make some of these. Visiting from CSI project.
ReplyDelete:) Michelle
Thank you so much for the tutorial! I was at a store recently that sold kits to make these for Thanksgiving placecards. The kit was too pricey for me, so I really appreciate your instructions!
ReplyDeleteI love these. What a fun little idea.
ReplyDelete